When your students start to whine about practicing their speech sounds, it usually means you need to change things up in your speech sessions. But it can be hard to find ways to make it FUNctional for their speech sound goals, right? Today, you will learn how to make some articulation crafts for speech therapy using paper plates that will increase trials and become a therapy tool for your sessions!

Craft Supplies You Need to Make Your Articulation Crafts

You need two paper plates for this craft (use the thin white ones), a glue stick, scissors, markers, and a word list with your student’s speech sounds.

If your students struggle with reading words, you can print out sheets of pictures with their speech sounds. You can use the Any Craft Companion to cover many speech and language goals.

I use the articulation flipbooks for the word lists, as they have word and picture-word lists. You can get the printable version HERE or the NO PRINT version HERE.

For other articulation crafts using paper plates, here are some art supplies to have on hand:

Have a low prep articulation craft for speech therapy that makes getting high trials easy!

Speech Therapy Craft Idea for Any Sound!

First, you will cut slits around one of the paper plates. The plate with the slits will be your top plate.

You will have your students write or glue their speech words around the plate with the bottom plate.

Then, put glue in the middle of the bottom plate. Attach the top plate with the slits to the glue on the base plate.

Your students can then flip the slits to reveal their speech words.

articulation crafts for speech therapy

How to Use Your Articulation Crafts in Speech Therapy

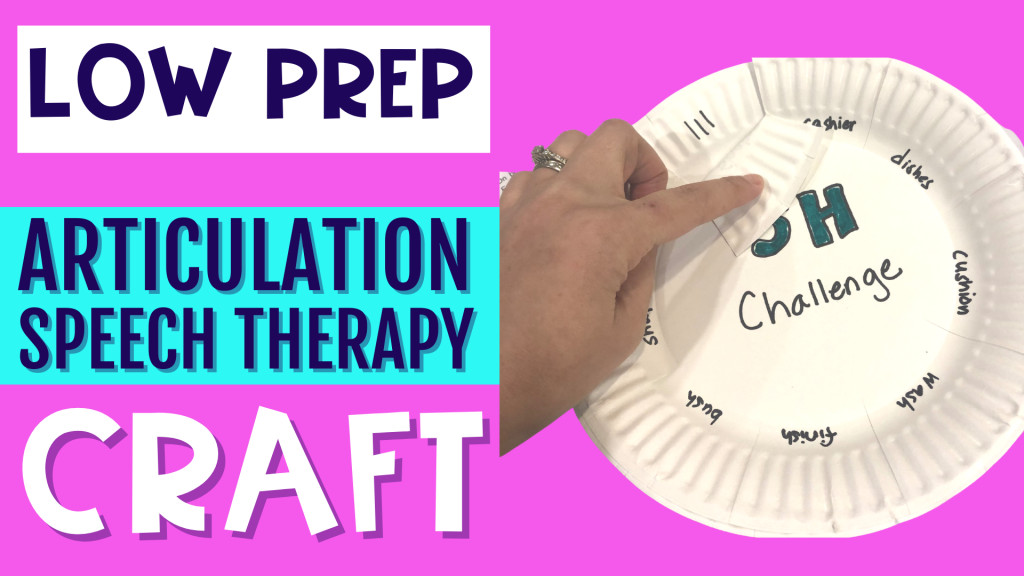
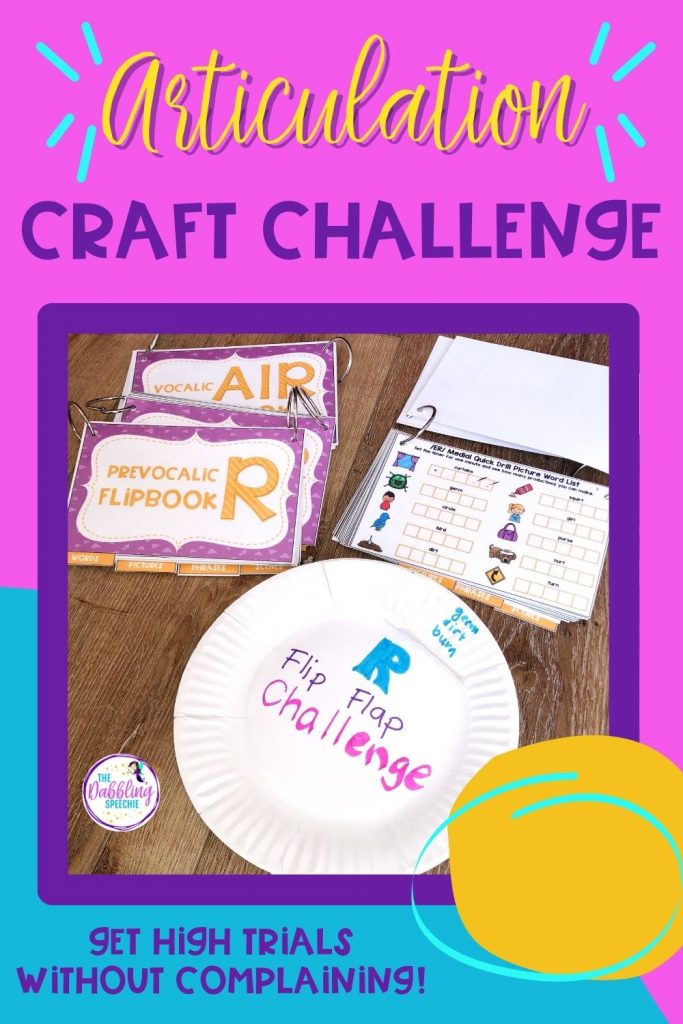
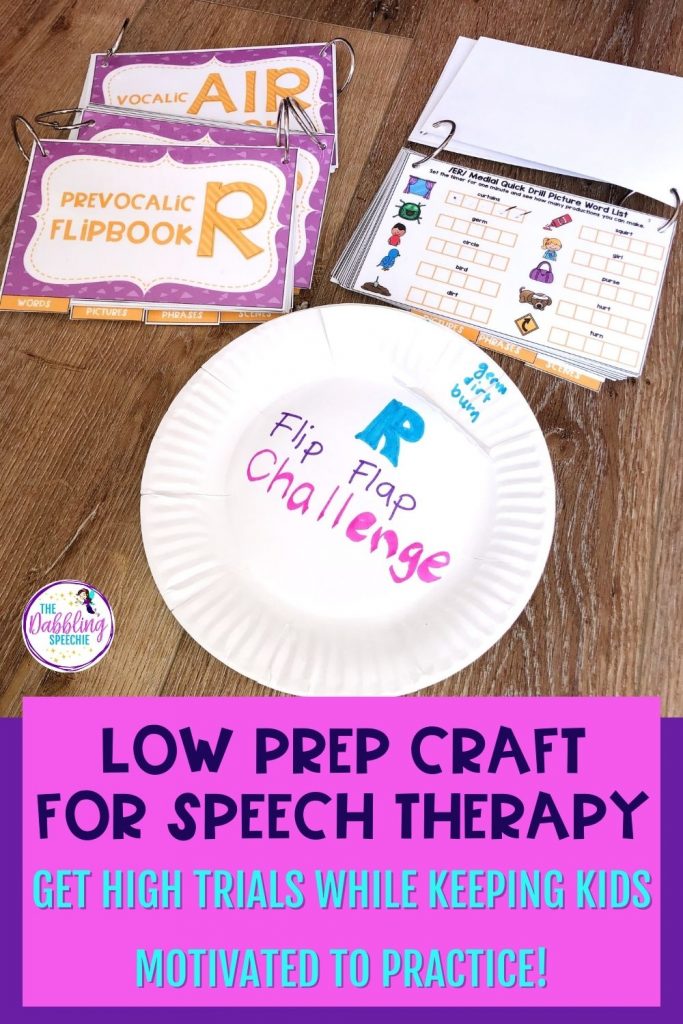
Once your students make their flip-flap speech challenge craft, set a timer for one minute and see how many words they can practice in a minute.

Use the craft as a warm-up each session to review speech sound practice or see if they can beat their previous score.

Instead of writing their speech words on the bottom plate, write different numbers around the plate. Then, write or glue their words on the top flaps. Whatever number you wrote behind the word is the number of times your students must practice their speech words.

Don’t worry about prepping homework because this articulation craft can be sent home as a home program activity for each day!

Need More Ideas for How To Adapt This Speech Therapy Craft for Language Goals?

Would you love to use this articulation craft in your mixed groups? Check out this blog post for how you can use this idea with grammar targets! You could also do this with categories. What other goals could you do this speech therapy craft? Let me know in the comments. 

Articulation crafts for speech therapy

Articulation Crafts Using Paper Plates

thedabblingspeechie